Categories
Technology

3D Scan to Make Replica

Well, now what?

Have you ever had a part that was broken or just worn out, called the manufacturer to hear that dreaded line – “We don’t make that part anymore” ?

We hear everyday from people in that same situation.

The solution is relatively straightforward; 3D scan to make a replica! In this post, we will walk you through the basics of the process.

3D Scan to Replica
Original part to be scanned
3D Scan to Replica
Original part to be scanned

3D Scan and Print it!

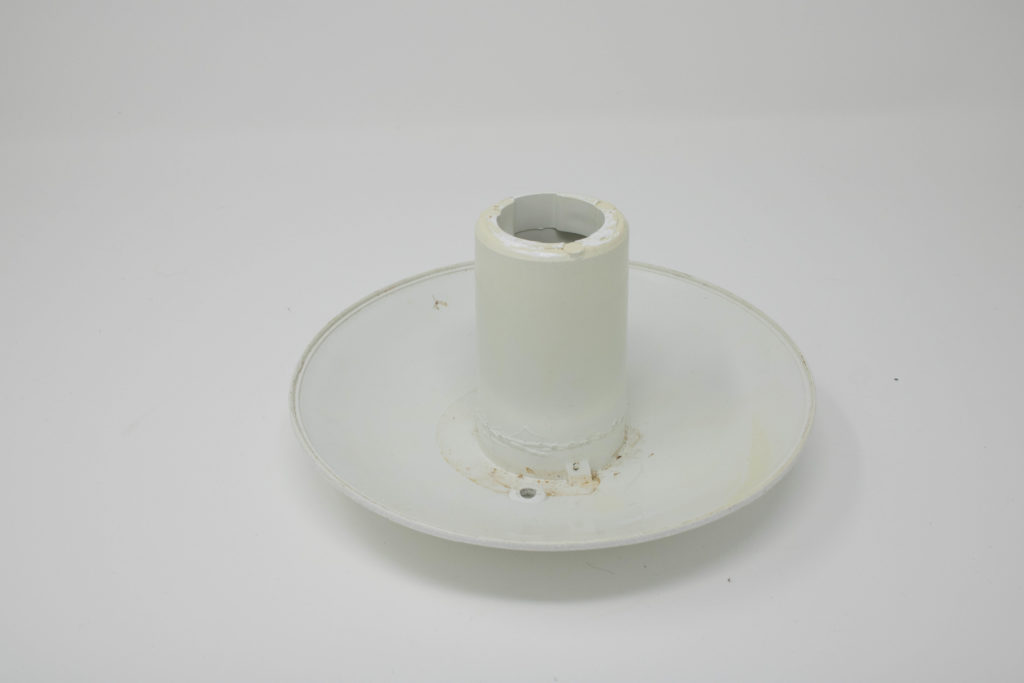
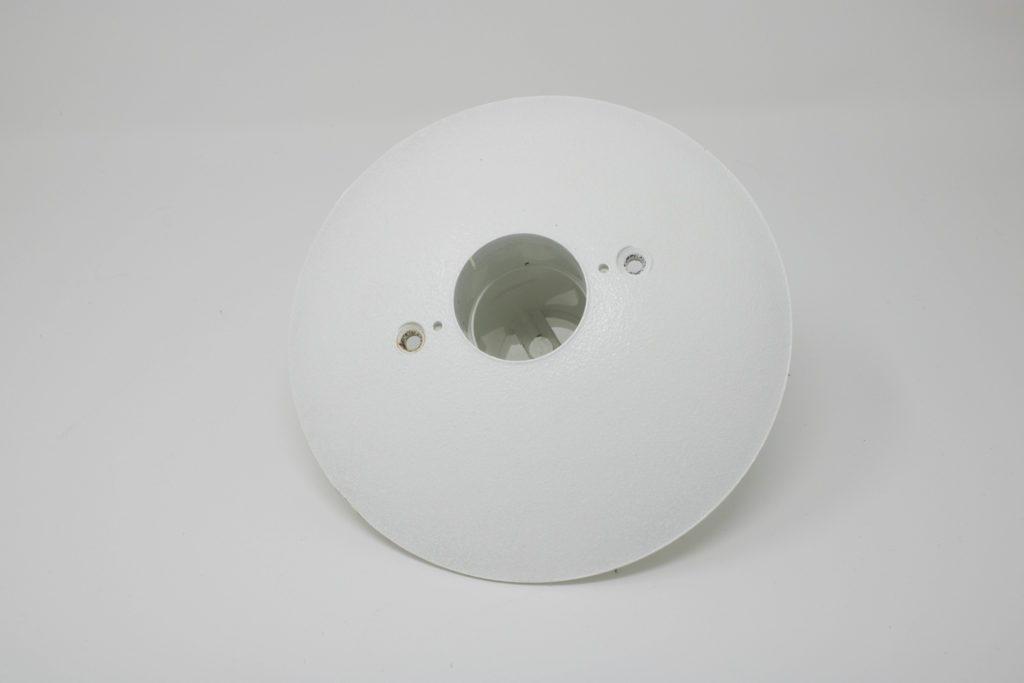
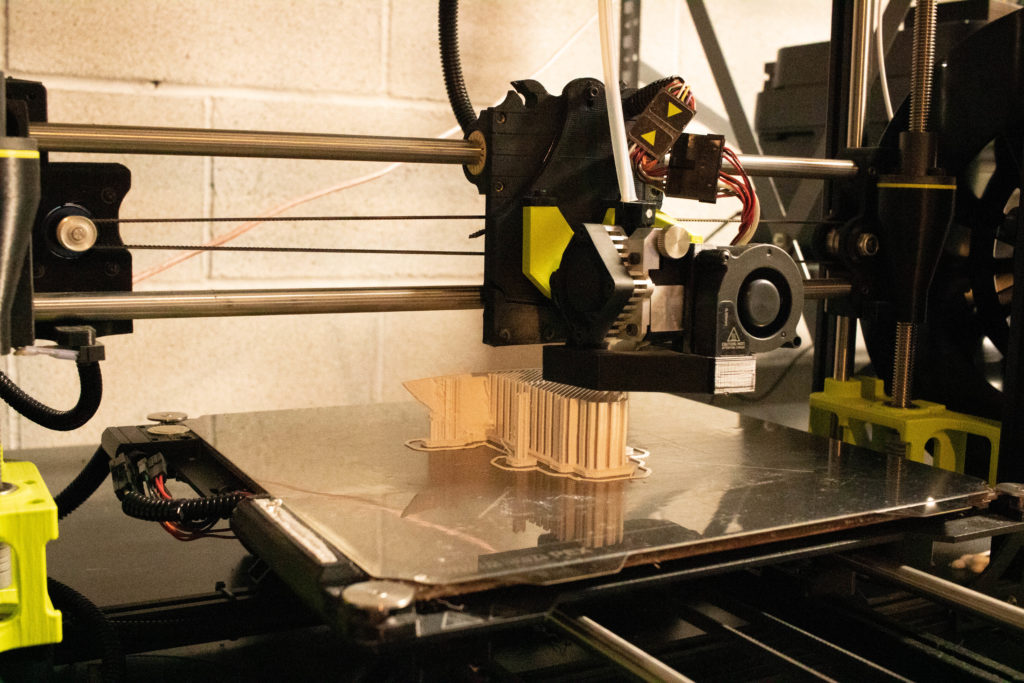
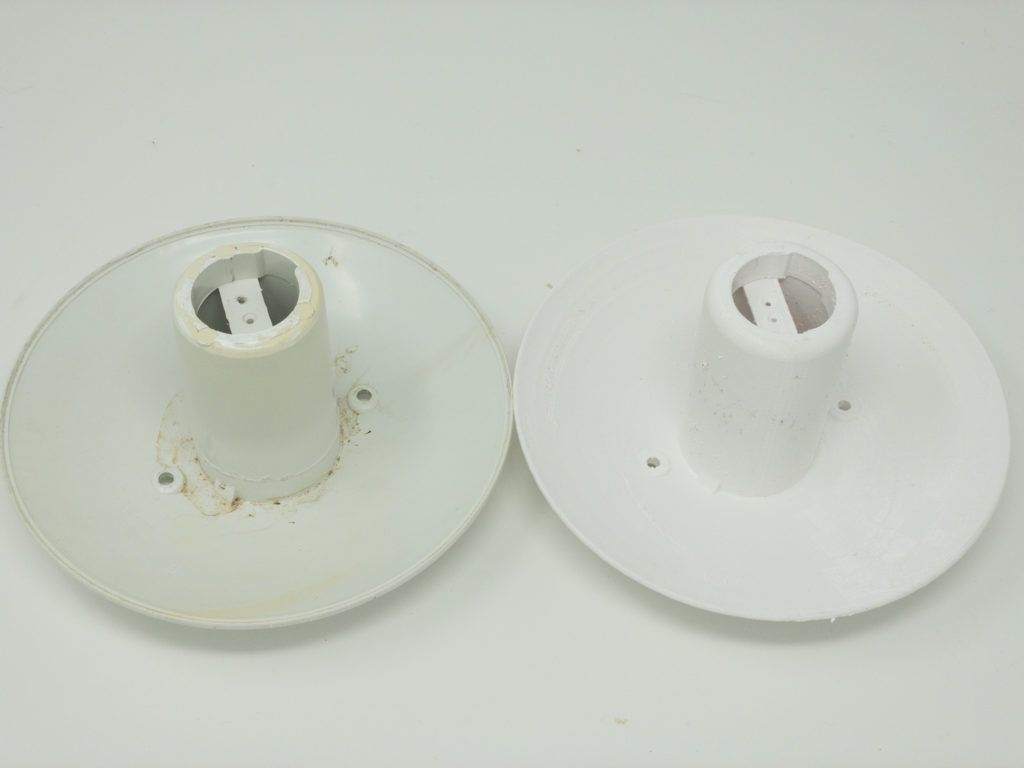
Here you can see a part we helped a customer with. We received the original white plastic part that was no longer in production, and there were no 3D files. Therefore, 3D printing was impossible initially.

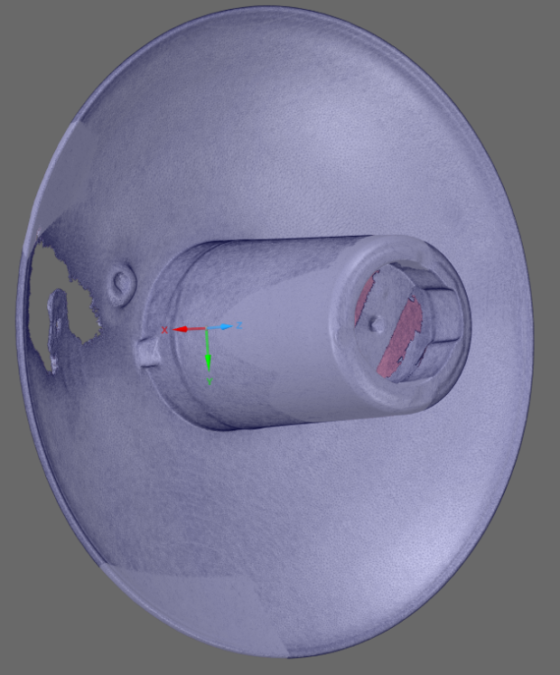
First, we 3D scanned the part to get initial geometric data. Below is a before and after image of the scan data vs the CAD 3D files. Structured-light scanning can only capture areas of the part light can hit, and reflective surfaces can cause some gaps in data. To counter this, we also took some hand measurements to reference.

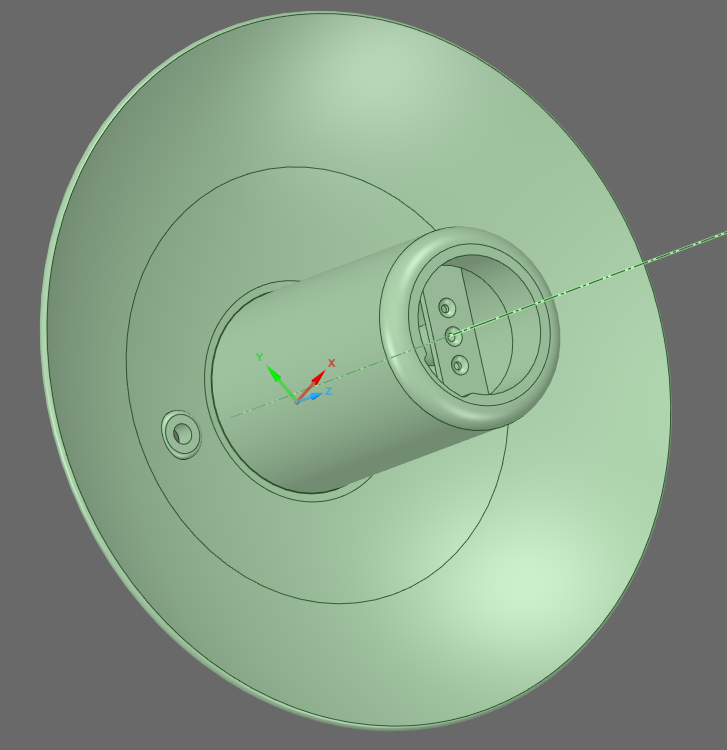
Then, using a program called Spaceclaim we extracted profiles of subsections of the part, and rebuilt the geometry in CAD. By doing this, it is very easy to add features in exact dimensions (think holes, hooks, attachments, etc.). It also created a clean/smooth data surface to tell a 3D printer how to build the part without a bumpy or messy surface, as well as accurately create holes etc. that 3D scanning will not capture.

3D Scan
Scan mesh of light fixture
CAD
CAD data of light fixture

3D Scan and Print it!

Hopefully this gives you an idea of the general process of 3D scanning, reverse engineering, and recreating a part using a 3D printer. In future posts, we will delve deeper into to the details!

In the meantime, feel free to contact us if you have any questions or if we can help you in any way!

3D Printing Light Fixture
Replica being 3D printed
3D Printed Replica
Original vs 3D Print